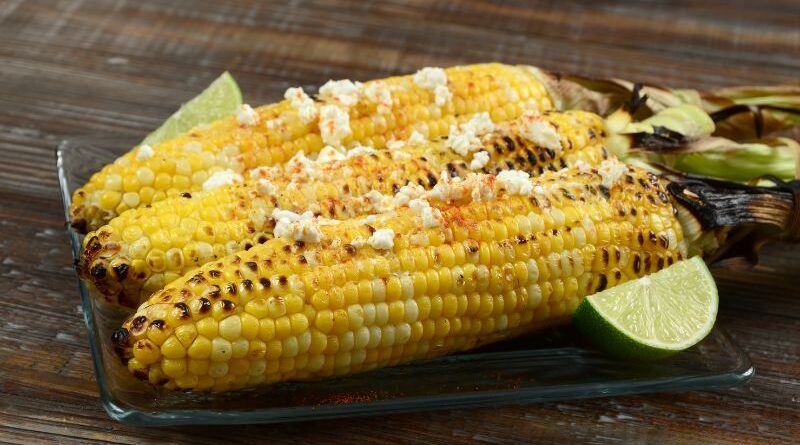
Microwaving corn on the cob is a quick and hassle-free method to enjoy this summer favorite. Begin by removing the husk and silk from the corn. Place the corn on a microwave-safe dish and cover it with a damp paper towel. This helps to retain moisture and steam the corn evenly.
Next, microwave the corn on high for about 3 to 5 minutes per ear, depending on your microwave’s wattage and the desired tenderness. Rotate the corn halfway through the cooking process to ensure even cooking.
Once done, carefully remove the corn from the microwave using oven mitts or a kitchen towel, as it will be hot. Let it rest for a minute or two before handling it further.
Microwaving Corn on the Cob Recipe
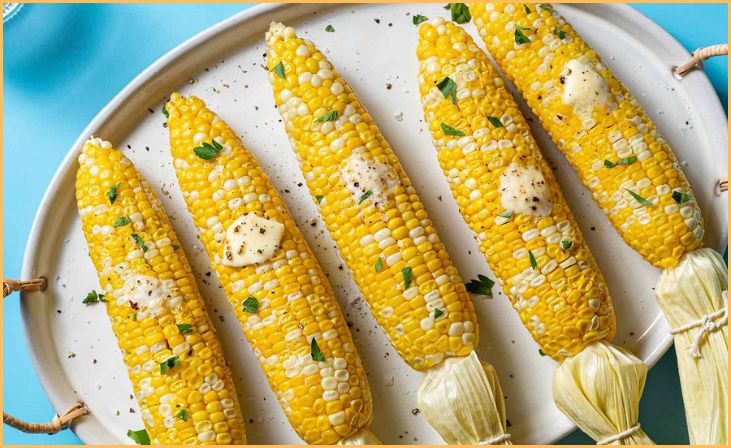
Ingredients
- 2 Tbsp. water
- 2 cobs of corn*, shucked and all husks and silk removed
- 2 Tbsp. butter
- 1/4 tsp. salt
Instructions
- Take one large Microwave safe dinner plate and put some water onto it.
- Place two cob of corn onto the plate.
- Cover the cobs using an Inverted plate of the same size.
- Microwave the kernels until their color is deepened in color and becomes tender, approximately for 4 to 5 minutes.
- Drain water from the plate.
- As your corn is hot to handle, use corn holders into the ends of the cobs.
- Spread butter on it and sprinkle some salt and pepper according to your taste.
Quick Link: Comparison Between Ham Shank Vs Ham Hock
How to do Multiple Servings?
The above recipe is suitable for one ear of corn, but you can microwave 2 to 3 corn at a time—depending on the size of your microwave.
- You can follow a general rule to cook the corn, take two minutes for 1 ear of corn. However, the time limit can vary a bit, depending on the type of microwave.
- So the rule is 6 minutes for two ears, 8 minutes for three ears, 10 minutes for four ears.
- However, if you need to cook more than four ears of corn, it is better to choose a grilling or boiling alternative.
To microwave multiple servings of corn on the cob, arrange the husked ears on a microwave-safe plate, ensuring they’re not overcrowded. Cover them with a damp paper towel to retain moisture and aid in steaming. Microwave the corn in batches, considering the microwave’s capacity and the number of ears being cooked. Rotate the ears halfway through cooking to ensure even heating. Depending on the microwave’s wattage and the number of servings, adjust the cooking time accordingly, aiming for tender and thoroughly heated corn for each serving. This method allows you to efficiently prepare multiple servings of delicious corn on the cob without compromising on flavor or texture.
How to Store Corn
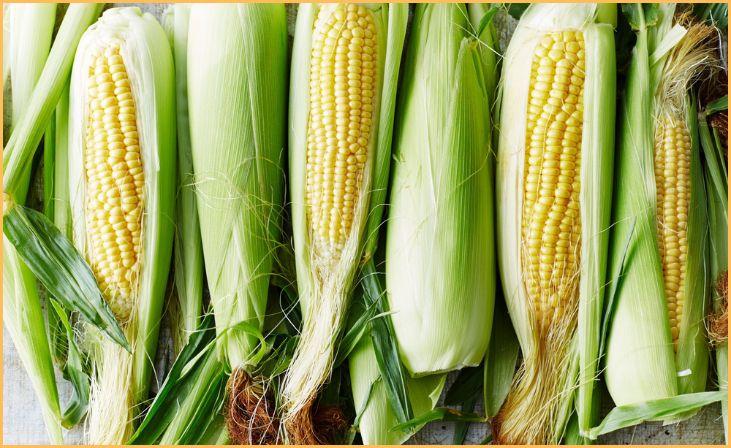
Corn’s sweetness diminishes the longer it remains from harvest to consumption. For optimal taste, it’s best enjoyed on the day of purchase. If immediate consumption isn’t feasible, there are storage tips to maintain its flavor. Unhusked ears of corn should be kept free from husks in the refrigerator, avoiding plastic bags. This preservation method helps retain moisture and freshness, ensuring better taste. It’s recommended to utilize unhusked corn within two days to relish its peak flavor.
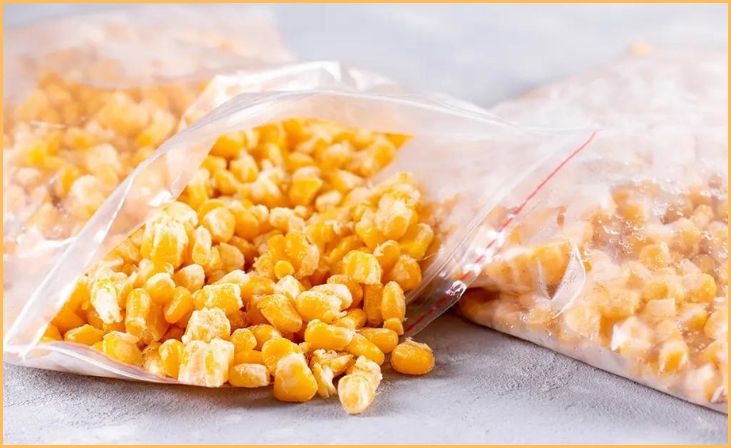
For husked corn, store it in plastic bags and refrigerate, consuming it within a two-day window for optimal taste. However, if consumption won’t occur within this timeframe, freezing the corn is a viable option. Freezing preserves its sweetness, allowing for longer-term storage without compromising taste. Whether refrigerating or freezing, prompt consumption or preservation within a few days of purchase ensures the corn retains its incredible flavor and sweetness.
How to Freeze Corn
For freezing corn, you have two options to choose from. You can freeze corn on the cob or just the kernels. The choice is up to you. Each option is effective and follows a similar process when preparing corn for freezing.
To get the best results, use the freshest corn possible! Whenever you bring corn into your kitchen from a farmer’s market, grocery store, or garden, decide immediately whether it will be eaten fresh or frozen. During the thawing process, corn loses its optimal flavor and texture. This is what you’ll taste later if you freeze it after it has reached its peak.
Quick link: Can You Eat Brown Guacamole?
Shelf Life of Unshucked Corn in the Refrigerator
Uncooked and unshucked corn typically maintains freshness for around one to three days. However, when properly wrapped, shucked corn can endure for an extended period. Storing unshucked corn in the refrigerator helps preserve its quality for a few days. On the other hand, shucked corn, when appropriately wrapped, can last even longer.
For uncooked, unshucked corn, the prime window for freshness spans approximately one to three days. However, shucked corn, meticulously wrapped and refrigerated, extends its lifespan beyond this timeframe, maintaining its quality for an extended period.
Conclusion
Microwaving corn on the cob stands as a convenient and speedy approach to relishing this beloved summer staple. The process involves a few uncomplicated steps: start by husking the corn, then place it on a microwave-safe plate, and cover it with a damp paper towel. This simple method allows the corn to steam gently, ensuring its succulence. Rotate the corn halfway through the microwaving process to ensure uniform cooking, enabling you to indulge in perfectly steamed and flavorful corn within minutes.
This technique eliminates the need for complex cooking methods, offering a hassle-free way to enjoy fresh corn on the cob. The simplicity lies in its ease of preparation, allowing you to delight in the sweet, tender kernels of corn without the prolonged cooking times associated with traditional methods.
FAQs
Microwave times vary but generally range from 3 to 5 minutes per ear of corn, depending on the microwave’s wattage and the desired tenderness.
Husk the corn before microwaving it for even cooking and to avoid scorching. Cover it with a damp paper towel to help steam and retain moisture.
No, adding water isn’t necessary. The damp paper towel helps create steam, cooking the corn evenly.
Yes, rotating the corn halfway through the cooking process ensures even cooking and prevents hot spots.
Pierce the kernels with a fork or knife to check for tenderness. Done corn should be hot and tender when pierced.

